Affichage des articles dont le libellé est sweet. Afficher tous les articles

vendredi 27 juin 2014

Mediterranean Spring Tapas and a bonus recipe


Lately we have been in tapas mode. I think I can identify the culprit quite easily: my new Morito Cookbook. It’s from a tapas restaurant in London called… Morito. All the recipes are delicious, easy to do and the taste is delicious, just like in the restaurant.
 
With the weather being so nice in May and June (mostly, we are in London…), we have tried about 10 of their recipes already and I keep craving for them all the time.
We have selected our favourite three for you today. I have replaced some ingredients when they were not easy to find and have still ended up with delicious dishes. 


Sweet onion salad with grilled halloumi
For me onions are the most underrated of all vegetables. They are cheap, taste delicious, come in a multitude of varieties and can be cooked in many ways. Red, white, spring onions, salad onions, Egyptian onions, cipollini… some are sweet others tangy, some are small or smooth and white, others are red, large and rough… A real delight!
This recipe uses red and / or white onions and makes them soft and sweet…
The sauce can seem a little cumbersome but the quantities give you more than enough for about 4 or 5 of these onion salads. And believe me you will be making it again soon!


Ingredients

· Pomegranate dressing
o   Freshly squeezed juice of one large pomegranate
o   One tbsp. of good quality red wine vinegar with a pinch of sugar
o   2 tbsp of pomegranate molasses (I used agave syrup and it worked perfectly)
o   4 tbsp of extra virgin olive oil
·         4 to 6 medium red or white onions

Pop your onions whole into your oven (gas 6 or 7) for 35 minutes. I put them on a grill above a tray. The onions will ooze a little and it’s easier to wash then the bottom of the oven.

In the meantime prepare the sauce:
Peel the pomegranate. Put the ruby coloured (yummy, don’t eat them all!) in a strainer above a larger bowl and squeeze with the back of a spoon until all the juice is extracted.
Add the olive oil, the vinegar and the molasses to the juice.
Pour in a sealable glass container (such as an old bottle with a cap or an old jam jar), close the lid/cap and shake.
Once the onions are done, let them cool for a bit, they will be easier to manipulate. Once cooled, remove the first (and second if needed) outer layers and the hairy end. Slice into two. Put in a serving dish (with high sides) and pour some of the pomegranate sauce onto them.
Grill slices of halloumi in a hot pan (no oil needed).

Serve with the halloumi still hot and enjoy!


Hummus
Aaah a great classic, but so easy and so good when it’s home-made!
I have to say for me it works better with canned chick peas. They are tenderer and softer than when I cook them myself, despite the 24h soaking.

Ingredients

·         Juice of one lemon
·         400g tin of cooked chickpeas drained and rinsed
·         One large garlic clove crushed to a paste with one teaspoon of salt
·         5 tbsp of extra virgin olive oil
·         1 ½ tsp of tahini

Mix all the ingredients together, I used a handblender.
Spread in a bowl, sprinkle with olive oil and smoked sweet paprika and tuck in!


Rhubarb and Tarragon
I ordered rhubarb only for this recipe. I tried making rhubarb pies before but found I wasn’t very successful. The pie was still very acid despite the half a ton of sugar I had added… hmm not very healthy either…
I was hence a bit sceptic for this recipe as the rhubarb is…raw! I turned out just delicious and the simplest as well.

Ingredients

·         300g young thinnish rhubarb stalks
·         1 small bunch of tarragon leaves
·         Small squeeze of lemon
·         2 tbsp extra virgin olive oil

Slice the rhubarb into 1 to 2 cm pieces. Wash and cut the tarragon, slice and spread over the rhubarb in a serving dish.
Just before serving, squeeze half a lemon and sprinkle with the olive oil.
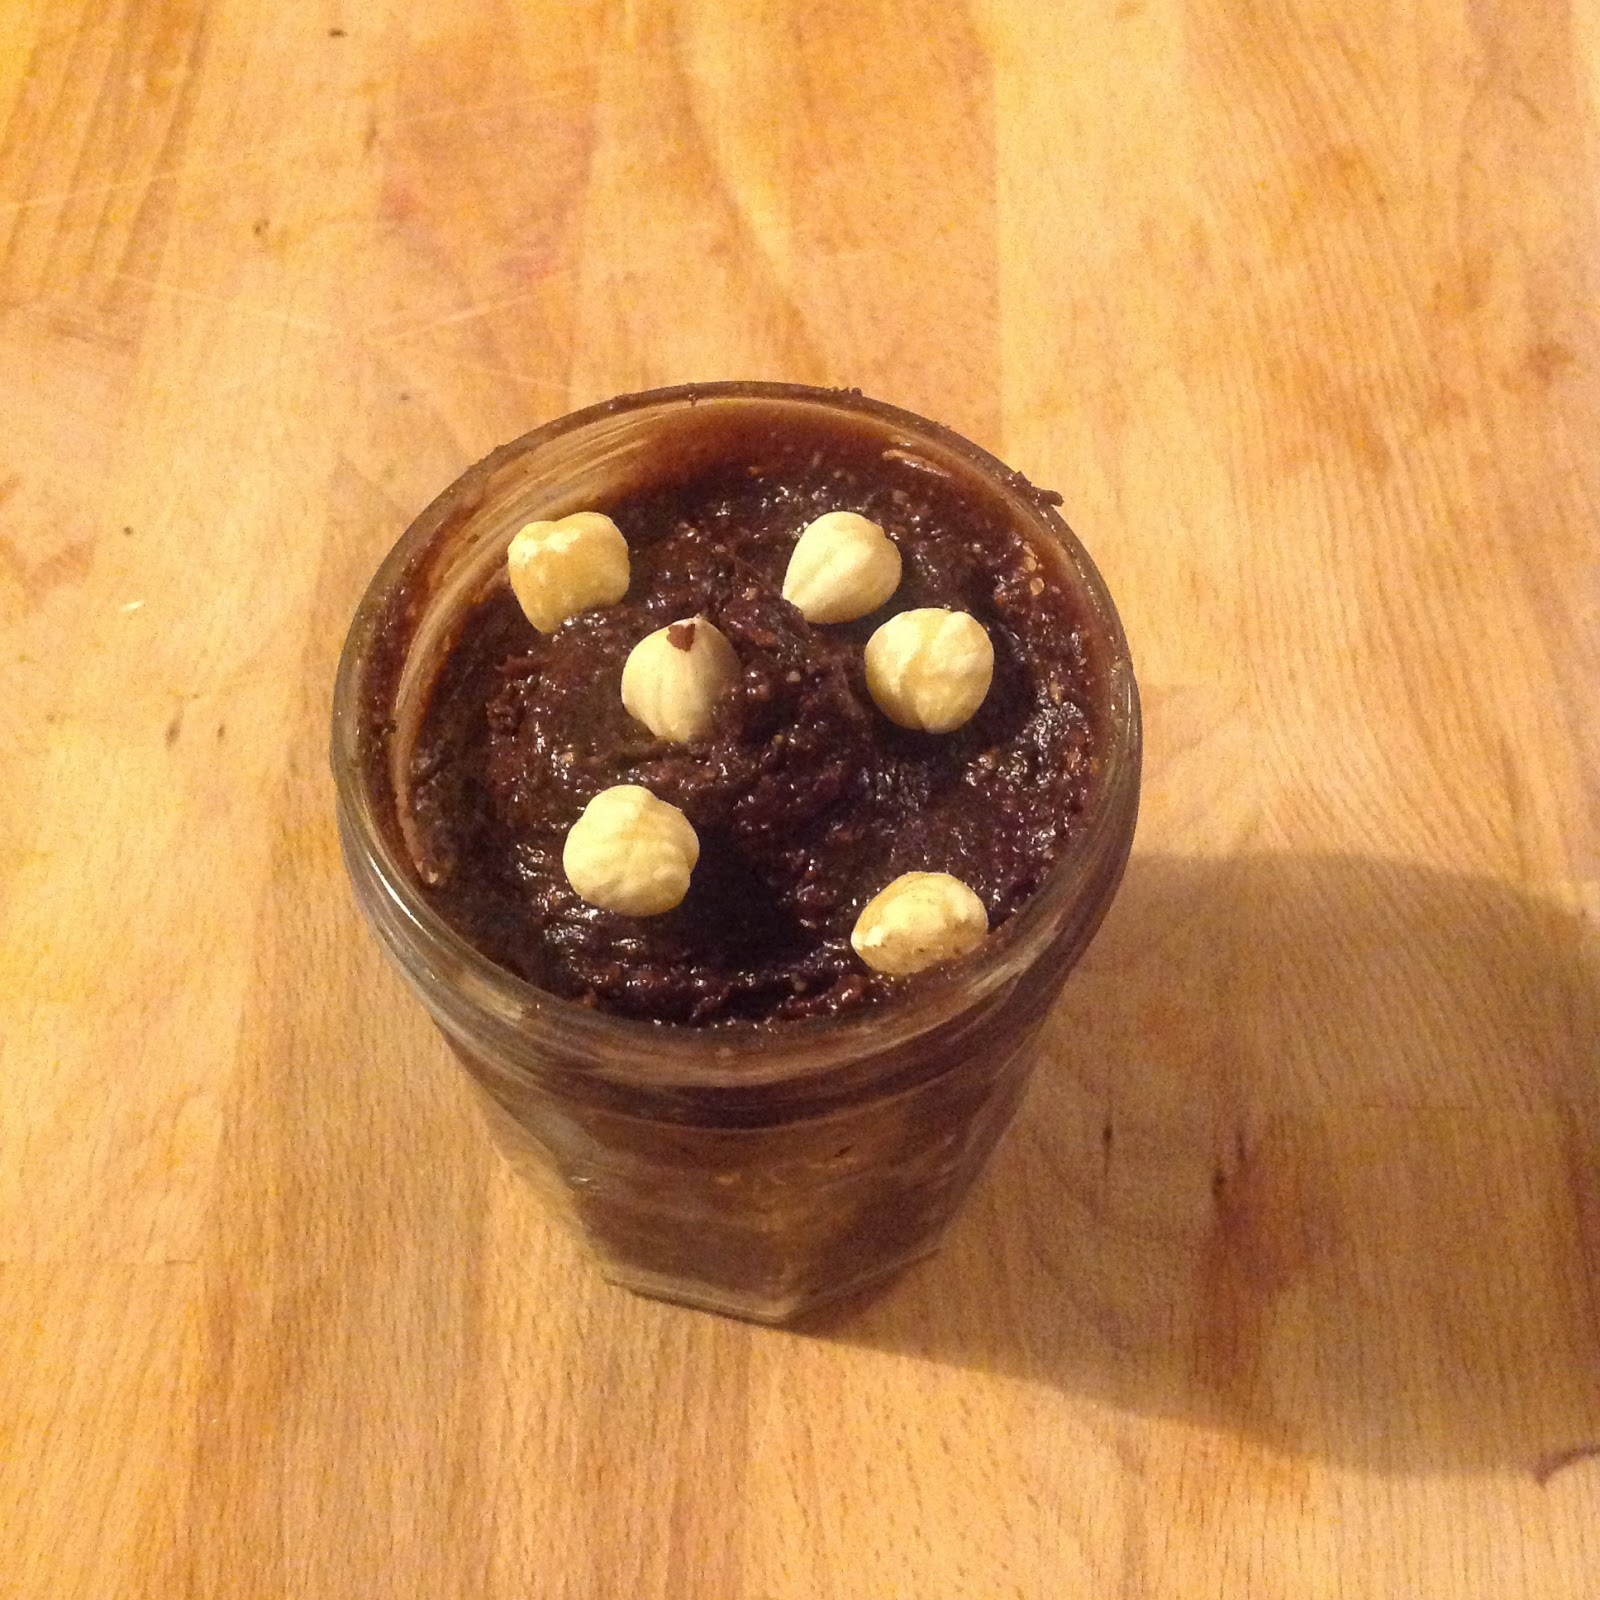
And a little bonus recipe: Rhubarb Chutney

We had some rhubarb left and after a week it didn’t look very good for a raw recipe. Thankfully, the blog Better than Butter proposed a rhubarb chutney recipe at about that time. I adapted the recipe with what I had at home:

Ingredients
15cl of water within which dates were soaked (I made the choconette 2 days before… 0:) )
100g of rhubarb, sliced into 1 to 2 cm pieces.
50g of prunes, pitted
1 small white onion, sliced thinly
50g of sugar
1cm of fresh ginger
¼ of a fresh chilli, sliced thinly
3 pinch of nutmeg powder
3 pinches of cloves reduced to powder
2 pinches of cinnamon
Ground black pepper

Put all the ingredients in a pan with a lid and bring to a small boil. Stir frequently. Remove the lid and let it boil very gently for about 1h to 1h30, until most of the water has evaporated and it has the consistence of chutney. Don’t forget to stir once in a while.
Put in an old jam jar. When it has cooled down, pop in the fridge for a month before using. You can use it before that of course but the flavours blend better after a month left alone. I cheated a bit to taste it out of curiosity. It’s really delicious, sweet and sour and a little hot at the back of tongue at the end. The beautiful thing about this recipe is that you can adapt it to whatever old and rotting secret ingredients your kitchen holds.

mercredi 21 mai 2014

THE Lemon Cheesecake


We went to Paris for the weekend, see friends and families and greeting a new baby girl to the world. A very nice break, full of great food and as you can see on the picture, some cooking.

Inspiring myself from my Aunt and Godmother M-L, and working on this recipe for years, I give you the lightest and more umami lemon cheesecake ever. No sourness, no thick, compact and heavy mouthful.

The tangy and zesty taste of lemon, combined with the softness of cream cheese and the sweetness of the crust. This is to die for.

I usually write long articles before the recipe appears but it would just be cruel in this case!

So here it is.


Ingredients:
600g of cream cheese. I use St Moret as it is slightly salty
300g of speculos/bastogne
90g of butter (that can be replaced easily with coconut oil but I haven’t tested)
170g of unrefined ugar
2 organic lemons
4 eggs (yolk separated from the white)
2 large pinches of salt


1.       Heat up the oven at 160°C on traditional oven function.
2.       Crush the speculos/bastogne.
3.       Melt the butter/coconut oil.
4.       Mix the butter with the speculos/bastogne and 20g of sugar.
5.       Butter/oil a high sided pie dish and spread the speculos mixture at the bottom. Use a glass to press the crumbs. Press well or they will mix with the dough.
6.       Keep in the fridge while you prepare the rest.
7.       Grate the zest of the two lemons.
8.       From then onwards I use a mixer but you can also do it by hand. Put the egg yolks, 100g of sugar, the cream cheese and the salt in the mixer and mix until all the ingredients are blended together. Add the lemon zest and mix a little more.
9.       Whip the whites until stiff and foamy. During the whipping process add the remaining 50g of sugar little by little. This will help keep the whites stiff.
10.   Move the creamy preparation from the mixer to a large bowl and slowly incorporate the egg whites one large spoonful at a time. I use a wooden spoon and bring the creamy mixture on top of the egg white until they are fully blended in. Don’t wait or the whites will fall down and melt back to a liquid!
11.   Once you have your light and creamy preparation, pour over the speculos bottom, in the pie dish.
12.   Cook for 40-45 minutes.
13.   Once out of the oven let the cheesecake cool down before removing the dish.


Devour cold, garnished with fruits. Strawberries, raspberries, red currants depending on the season. You’ll notice I used raspberries which are not exactly in season yet but I just couldn’t resist… 


This cheesecakes gets even better after a day or two in a sealed container in the fridge.

Let us know what you think once you’ve tried it!

R.

samedi 29 mars 2014

On se lève tous pour la Choconette!


We are sorry we have been away for so long. To help you forgive us, I have prepared a little surprise.

I take it everyone has tasted (and probably adored with unrestrained devotion), Nutella.

Me too. My father (wise man) forbid us to have some in the house, so I simply bought some and hid it in my room. I would sneak out at night, cut slices of bread or baguette and spread Nutella lovingly over it. As soon as I was a student in Montréal, I bought Nutella and would eat it at every breakfast. More Nutella than bread, a glass of orange juice to balance the sweetness with acidity and it was simply delicious.

BUT. I grew up. And I read Antigone’s article on Nutella. Revelation !! Home-made Nutella CAN taste delicious and replace the industrial oily, too sweet paste I used to buy. The best thing is you can eat it without guilt, it’s 100% plant-based. 

As Antigone explains well in her article, in addition to not being healthy (which let’s face it, we already knew, it was just too good for us to really want to face the fact), Nutella is actually dangerous for your neurons, carcinogenic and contains plastic derivatives.

Sooo, instead of buying Nutella, I encourage you to try the home-made alternative: the Choconette ! (see http://antigonexxi.com/recettes/a-la-table-du-petit-dejeuner/nutella-is-dead/ for the original version of Antigone’s article).


Let’s dive straight in! (which I literally end up doing everytime I make this recipe. You should see me with chocolate up to my elbows/nose, enjoying the child-like pleasure of licking the remains on the spoon/mixer…). 

Makes a 330 ml. or 11 oz. jar (the equivalent of a Bonne Maman jam jar)

Ingredients :
  • 15 dates (around 90 g. or 3 oz.)*
  • 125 g. [1/2 cup] hazelnut butter
  • 60 ml. [4 Tbsp] agave or maple syrup (or raw liquid honey)
  • 30 g. [1/3 cup] cocoa powder
  • 15 ml. [1 Tbsp] water
* For those who don’t want to use dates, you can substitute 1/2 dried apricots and 1/2 dried bananas (but not banana chips!)

Preparation :
1. Rehydrate the dates in hot water for about 10 minutes (or 2 hours in cold water)
2. Put all your ingredients in a blender and… blend!

If your blender is not very robust, add the cocoa last as it dries up the paste and makes it harder to mix. 

Use a sterilised jar (10 minutes in boiling water), and keep the Choconette in the fridge. Ours lasts for 2 to 3 weeks, but we usually finish it well before that ! 

You see that jar? That was my first go at it. It lasted 6 days. I now systematically double this portion ;)

R

dimanche 5 janvier 2014

The Orange Cake


It’s this time of the year again when the night falls fast, the temperature goes down and Christmas is over. We don’t know about you but we love winter. It’s all about being cosy at home, cooking comfort food and getting plenty of vitamins and minerals from seasonal fruits and veg. 

To keep it entertaining we’ve just used our oranges from this week’s box to make an orange cake. The first time we did it we made a mistake and put salted butter… and it was just delicious. We have now come up with a more balanced version:

·         4 large oranges
·         170 g of butter at room temperature (half salted and half unsalted)
·         130g of sugar
·         3 eggs
·         150g of flour
·         2 tbsp of baking powder (1 sachet)
·         125g of icing sugar

Pre-heat your oven to 160°C (Mark 5).

Grate the zest of two of the oranges; keep for later.

Mix the butter and the sugar until you obtain a homogenous dough. Add in the eggs and mix well.
Mix the yeast and the flour separately and add to the butter mixture slowly while mixing with a whip vigorously.

Include the zest and the juice of 1.5 oranges. You can modify the amount of juice depending on the consistency as the dough should not be too liquid, but you will need the juice of at least one orange.
Butter a cake pan and pour the dough. Put in the oven for 35 to 40 minutes. Check with a knife that it’s dry inside.

Once the cake is cooked and cooling in your kitchen, resit a bit longer!
In a pot, pour the juice from the remaining oranges and the icing sugar. Mix well until the sugar has dissolved in the juice. Bring to a boil and keep boiling for at least 7 minutes, until the mixture becomes a bit syrupy. You can test that by putting a bit of the icing on a spoon and cooling it. If it’s sticky, it’s ready.

With a ladle, pour gently over the entire surface of the cake, ensuring that the cake absorbs the syrup. Decorate with a few orange slices. 

Tuck in and enjoy!