A. got the idea to bake a cake which is very popular in Australia and he already had old bananas in the kitchen.
His kitchen is nice but missing the weighting scale. With this important piece missing we arranged to make our own weighting. Needless to say this was very approximation. The cake was delicious however so there you go, easy AND no particular cooking skills needed.
Ingredients:
200 g of white flour
1 tsp of baking soda (we used a sachet)
1/3 tsp of salt (a big pinch)
3/4 tsp ground cinnamon
3 ripped bananas
1/2 pack of butter (125 g) unsalted, melted
150 g of sugar
2 eggs
A pinch of Vanilla
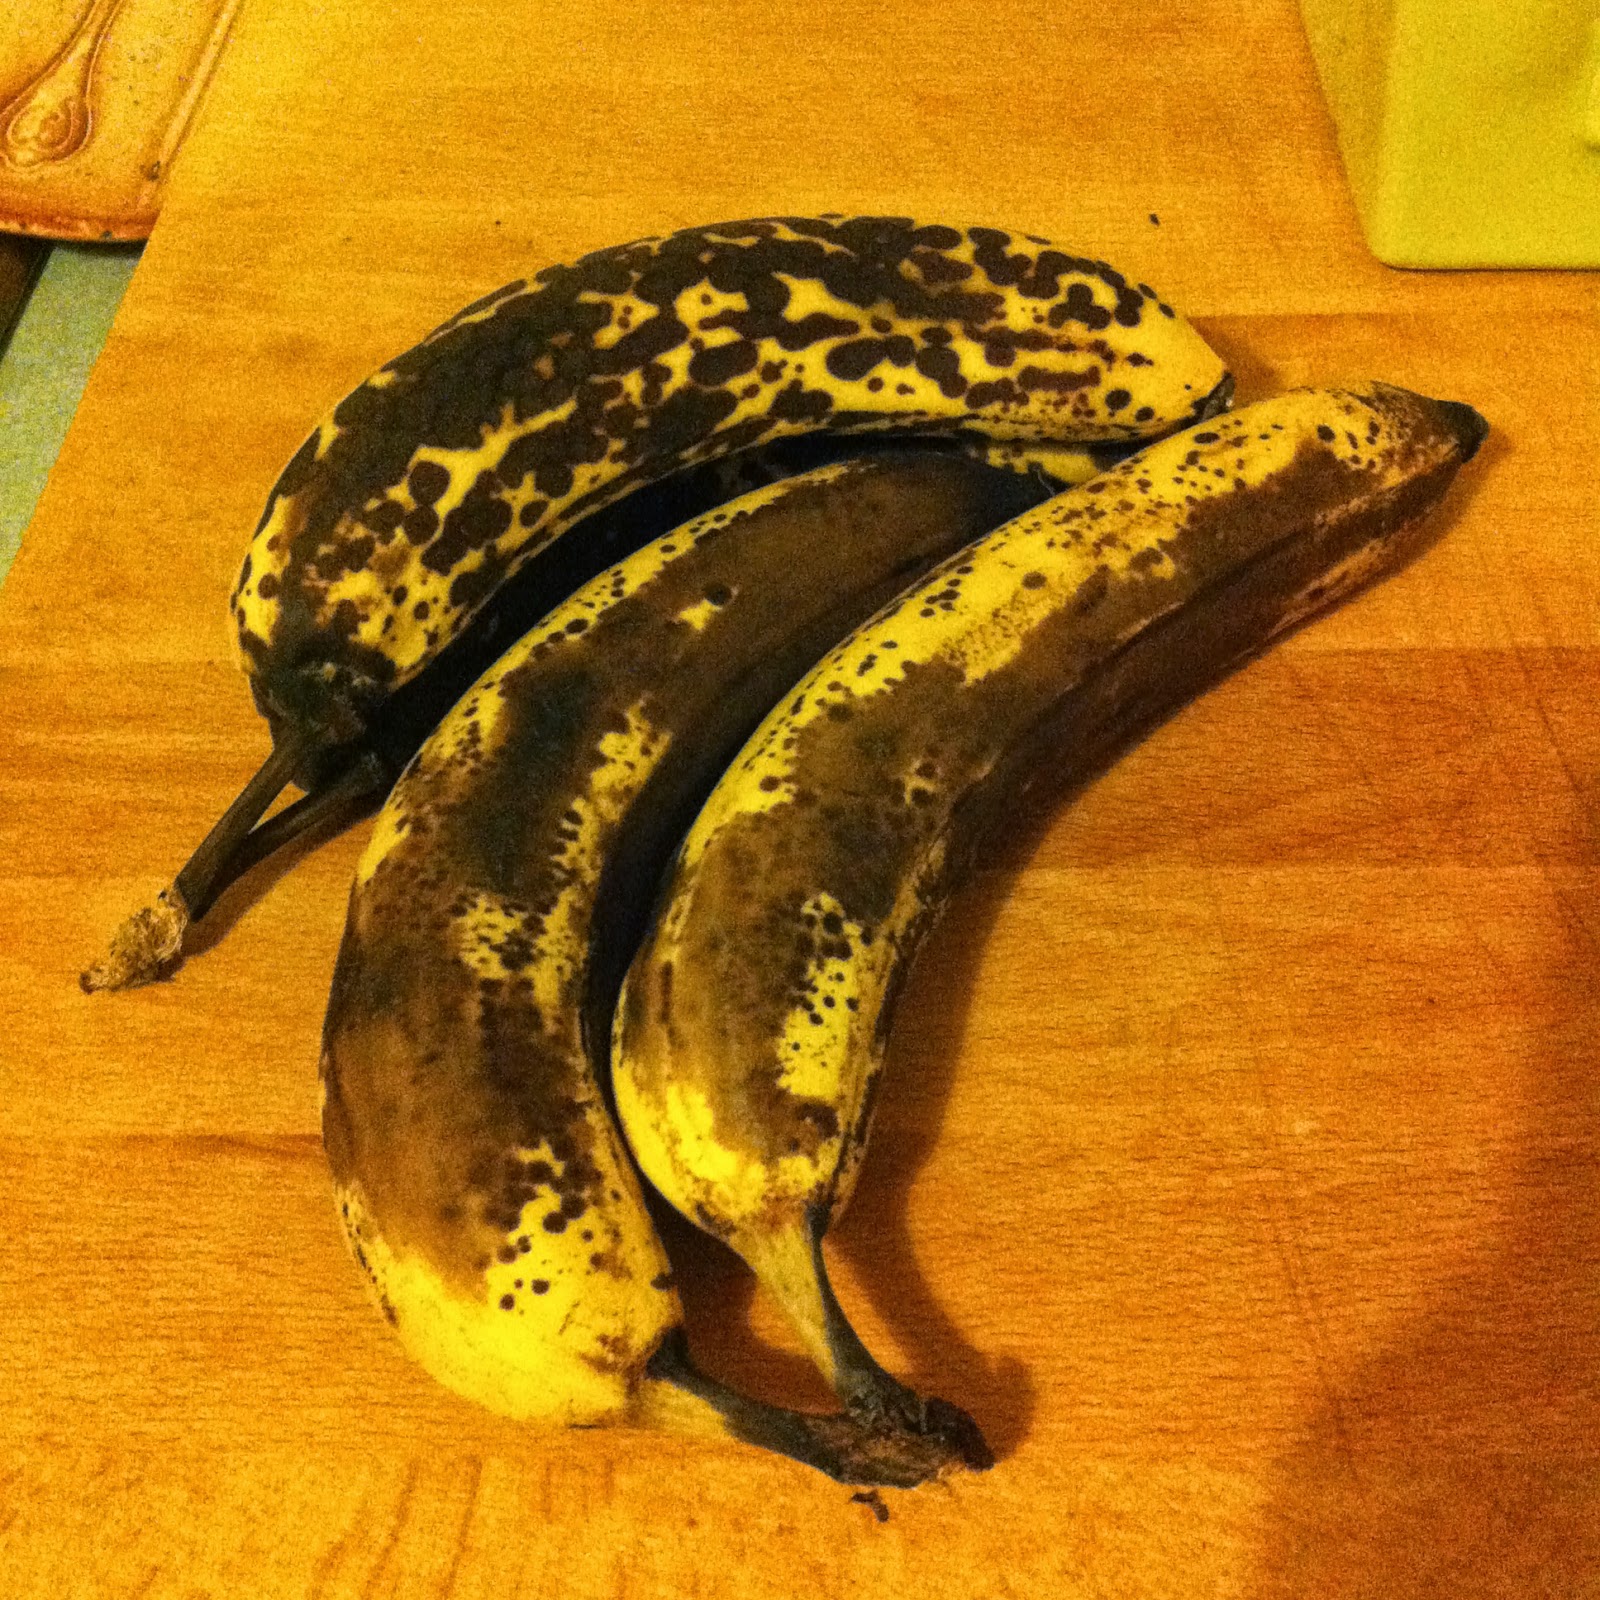
3 ripped bananas
1/2 pack of butter (125 g) unsalted, melted
150 g of sugar
2 eggs
A pinch of Vanilla
Pre-heat the oven at 180C /gas 6.
First in a bowl reduce to a pulp the bananas, add the butter, eggs and vanilla.
Time to add the dry ingredients: the flour, baking soda, salt, and cinnamon.


We blended everything together and it was looking good to us. We poured the dough in a backing dish.


Place in the oven for 60 minutes.

Check after 45 min just in case. It is ready when the knife comes clean after being inserted in the middle of the cake.
We added a scoop of ice cream.

With such a desert you can only take good decisions when planning your next party.
M
ps : The original recipe Classic-banana-bread
Time to add the dry ingredients: the flour, baking soda, salt, and cinnamon.
We blended everything together and it was looking good to us. We poured the dough in a backing dish.
Place in the oven for 60 minutes.
Check after 45 min just in case. It is ready when the knife comes clean after being inserted in the middle of the cake.
We added a scoop of ice cream.
With such a desert you can only take good decisions when planning your next party.
M
ps : The original recipe Classic-banana-bread