mardi 16 décembre 2014

DIY Planet Friendly Christmas Tree

Last year we bought a Christmas tree. I couldn’t resist it, no matter how not-environmentally friendly it was, Christmas without a Christmas tree was not really Christmas. We bought a small tree in a pot though, in the hope of keeping it alive until the next Christmas, and the one after. Unfortunately, and predictably, after a few months, and despite our best efforts, our tree died. What a waste.


The traditional Christmas song in France sings about how beautiful the tree is in the forest, all lush and green and tall and proud :

Mon beau sapin
Mon beau sapin, roi des forêts
Que j'aime ta verdure
Quand par l'hiver, bois et guérets
Sont dépouillés de leurs attraits
Mon beau sapin, roi des forêts
Tu gardes ta parure
Toi que Noël
Planta chez nous
Au saint-anniversaire
Joli sapin, comme ils sont doux
Et tes bonbons et tes joujoux
Toi que Noël
Planta chez nous
Tout brillant de lumière
Mon beau sapin
Tes verts sommets
Et leur fidèle ombrage
De la foi qui ne ment jamais
De la constance et de la paix
Mon beau sapin
Tes verts sommets
M'offrent la douce image

I think we all know through experience that our Christmas trees don't stay lush and green and proud very long once they are in our living rooms!

So, this year, we made it ourselves. From scrtach. And it looks lovely and just as Christmassy as the real thing, while the trees can peacefully live outside where they belong.

You can find tons of ideas of crafted and home-made Christmas trees all over the internet: here and here for example. Ours is one option in a million.

Material:
  • Cylinders of any kind (from posters, woodsticks…). Ours came from a bin right outside a theatre, where they get sets and discard the packages.
  • Paint with any colour (we already had white and gold at home so used those but be as creative as you care to be!).
  • Solid strings
  • Lights and decorations


Method:
  • Measure and cut the cylinders with a saw to obtain a pyramid when you pile them up (ours get smaller by 5 cm on each sides).
  • Paint the cylinders as you wish. We haven't done it but you can create stencils and add patterns on the cylinders.
  • Wait patiently while it all dries.
  • Set up your cylinders on the floor in the right order and pass through the strings. Start by passing one end through the longest cylinder. Just like for a necklace. Then you need to cross them over in the next cylinder, passing the string ending on the right of the cylinder to the left of the next one and vice versa. In case my fantastic explanations are not very clear (hum), there is a sketch below.
  •  (You’ve just got to admire my drawing skills!)
  • If your cylinders are heavy, make sure you keep the strings tights, they will space themselves out automatically with their weight. If you are using pieces of wood, you might want to tie the strings to the ends of each woodstick separately on each side.


Hang it up and add on your decorations and lights !


R&M

lundi 1 décembre 2014

A quick cake : the banana bread

With my friend A. we decided to meet for dinner at the last minute. We have to plan a party in a few months and the best moment to discus for us is around a meal.

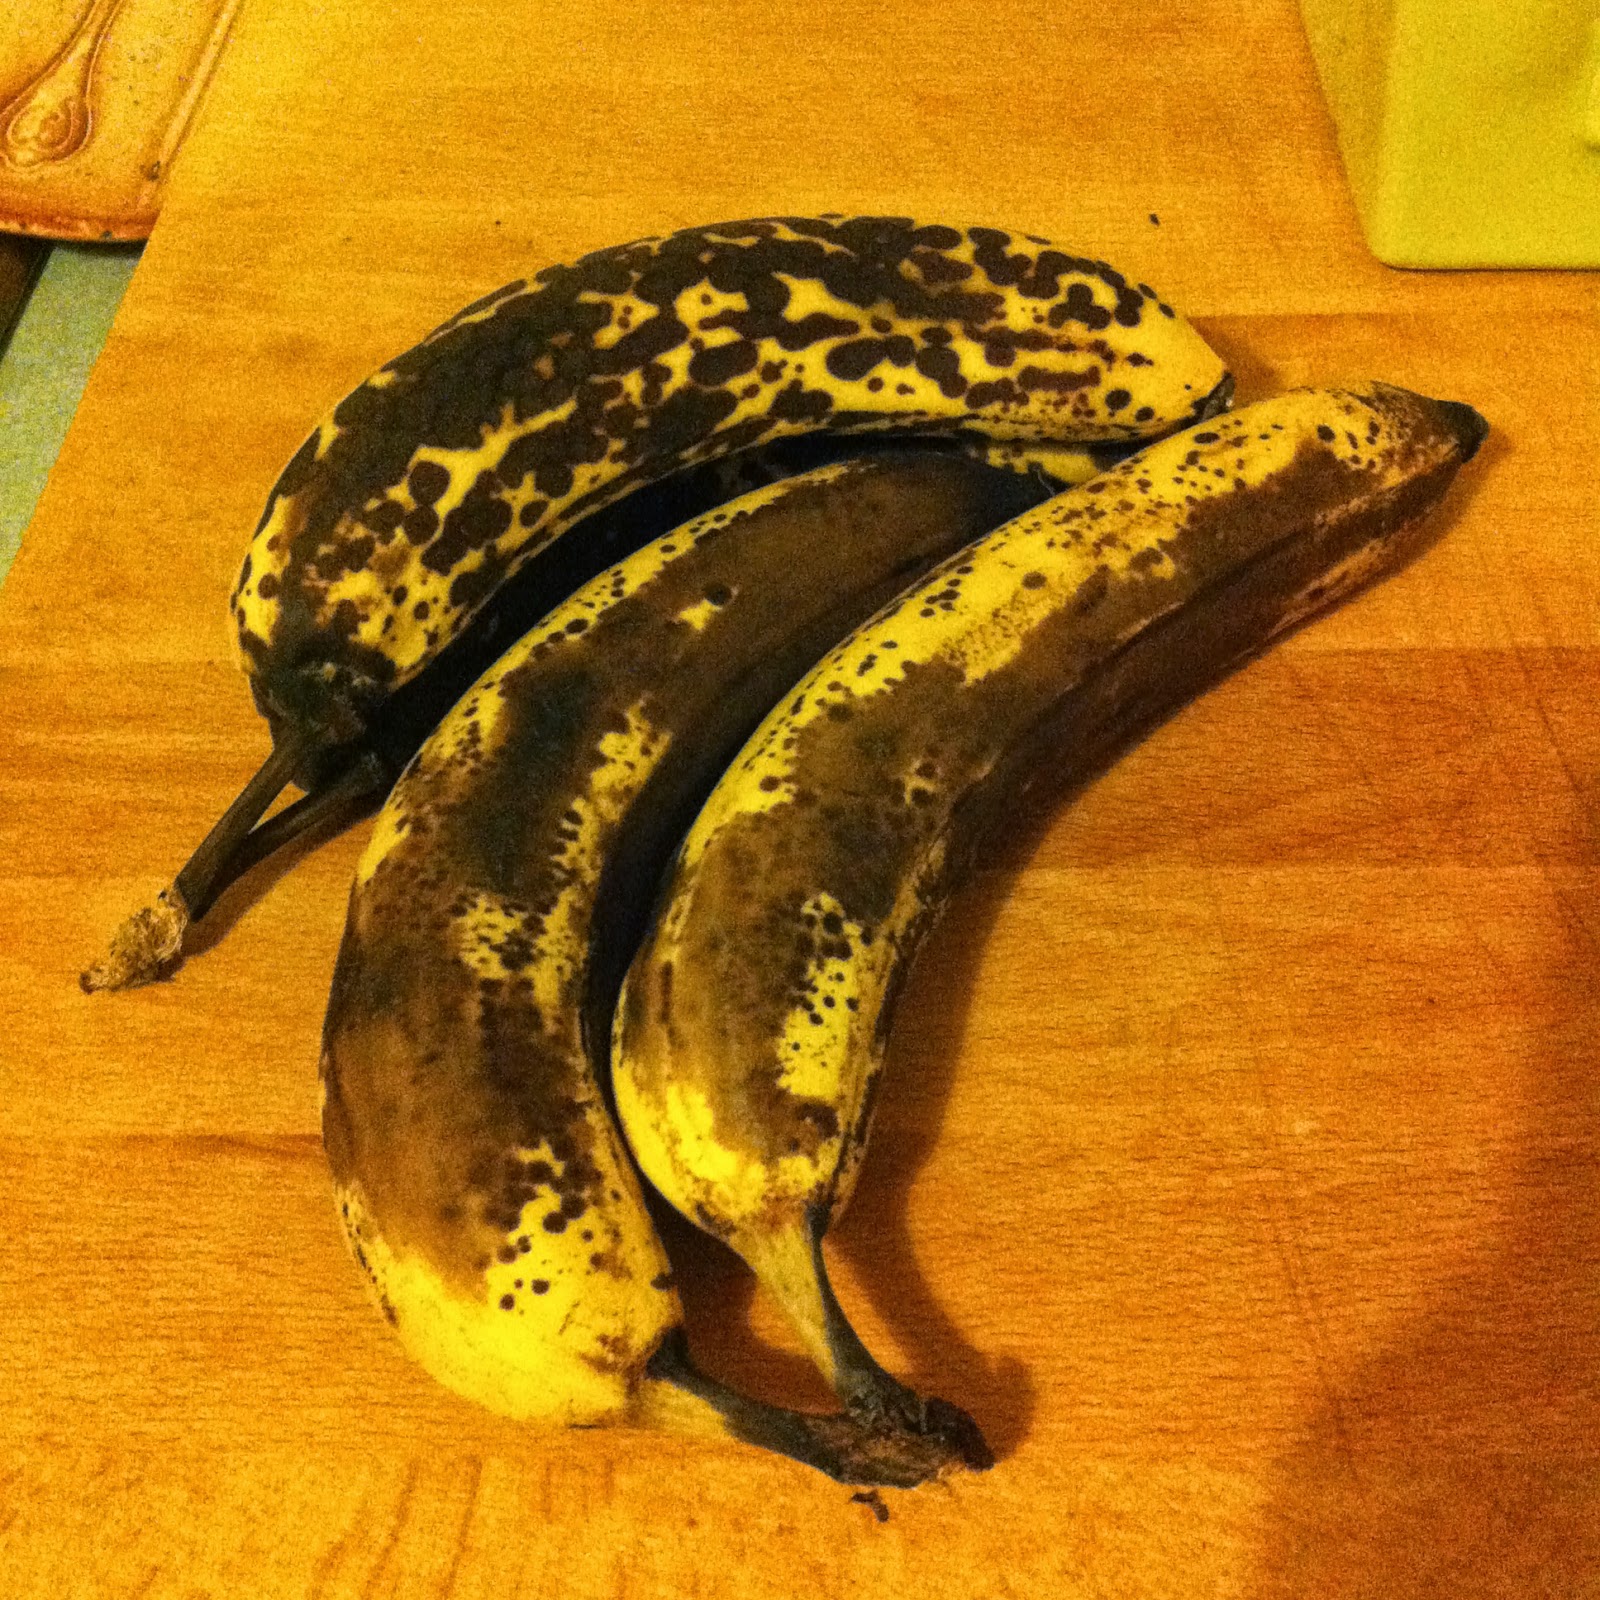
A. got the idea to bake a cake which is very popular in Australia and he already had old bananas in the kitchen.

His kitchen is nice but missing the weighting scale. With this important piece missing we arranged to make our own weighting. Needless to say this was very approximation. The cake was delicious however so there you go, easy AND no particular cooking skills needed.

Ingredients:

200 g of white flour
1 tsp of baking soda (we used a sachet)
1/3 tsp of salt (a big pinch)
3/4 tsp ground cinnamon
3 ripped bananas
1/2 pack of butter (125 g) unsalted, melted
150 g of sugar
2 eggs
A pinch of Vanilla

Pre-heat the oven at 180C /gas 6.

First in a bowl reduce to a pulp the bananas, add the butter, eggs and vanilla.
Time to add the dry ingredients: the flour, baking soda, salt, and cinnamon.


We blended everything together and it was looking good to us. We poured the dough in a backing dish.


Place in the oven for 60 minutes.

Check after 45 min just in case. It is ready when the knife comes clean after being inserted in the middle of the cake.

We added a scoop of ice cream.

With such a desert you can only take good decisions when planning your next party.

M

ps : The original recipe Classic-banana-bread

jeudi 25 septembre 2014

Great classics: Smoked Salmon and Spinach Quiche

I’m not sure what season we are in exactly. Some days we wake up, the sun is shining and warm and it feels like it is still summer. Other mornings, the sky is grey, wind is blowing and rain threatens. Automn is around the corner and it has decided to let it be known.


Well, inevitably some days a fresh salad of veggies and quinoa will do, and others a warm soup would be great.

What I usually try to do in these cases is cook dishes which:
1)      Can be eaten both warm and cold
2)      If eaten warm, can be accompanied by a salad 

For instance, the other day I cooked a Salmon and spinach quiche. 

To be fully transparent, the idea came from our friend A. After a day at the beach (yes in England!), watching our men kitesurf while A, A and I were on talking our afternoon away, we came back to London and ate this delicious heart-warming home-made quiche. No need to say that this was highly apreciated after the cold day dipping our feet in the Manche and walking along the (very) windy beach.


Well I was craving it again so made it last night. It takes about 10 minutes + 30 minutes to cook and it’s delicious. Save some for your lunch the next day!

Ingredients
200 to 300g of smoked salmon
3 or 4 large handfuls of raw spinach
A pie dough
4 eggs
350cl of milk
2 large spoons of crème fraiche
2 pinches of curry powder
1 healthy pinch of salt (no need for much more, as smoked salmon already tastes salty).

1.       Place the dough on a dish, poke holes all over the surface with a fork and place in the oven at 180°C/ gas 6.
2.       Cut the salmon into rough squares.
3.       Cook the spinach 1 minute in boiling water. Remove from the pan and place in a colander. Pour cold water to stop it from cooking further and then press in your hands to remove as much water as possible.
4.       In a large bowl, beat the eggs, the milk and the crème fraiche and the curry powder. Once it looks homogeneous, place the salmon pieces and spread the spinach. Stir a little.
5.       Once the dough is golden, after about 15/20 minutes, remove it from the oven and pour the quiche mixture on it. Spread the salmon and spinash all over.
6.        Bake in the oven for 20 to 30 minutes depending on the thickness of your quiche. When it is cooked, the end of a knife should come out (relatively) clean. 

Serve immediately with green salad. You can also add some pieces of red pepper, chive, shallots, sprouts, seeds etc. depending on your mood.

R&M

mardi 12 août 2014

Get fresh for summer


I don't know what the weather is like for you but in our London home city we have a good head start on our holidays. Our windows are all opened, the temperatures are rising, thunderstorms mark the end of the day and picnics are the new trend. To enjoy the weather fully, this week we have been to watch an Opera in Trafalgar Square, not in the theatre but on a screen. We could both enjoy the warmth of summer and the singing of La Bohème right in the centre of London.


When it’s warm we feel like having mostly raw and simple dishes to enjoy the taste of delicious seasonal fruits and vegetables.
We just combine different small fresh starters for freshness.

Goat Cheese on toasts:

  • One or two slices of campagne bread per personne
  • Goat cheese (about 100g)
  • Honey


Slice your bread. Put one to three slices of goat cheese (half a centimetre thick) on it, and straight to the grill for 15 min.
When you see that the cheese start running outside the bread it's time to eat.
In the plate add honey on top of the cheese (around a tea spoon by slide).

Celery salad

  • A few celery branches
  • Lemon juice


Just wash the celery cut in half centimetre slices. Squeeze a bit of lemon and serve.

Romero Red pepper salad

  • A simple red pepper just sliced


Courgette salad

  • 2 courgettes (yellow or green)
  • 200g of Feta cheese
  • 2 spring onions
  • Pepper

Dice the courgettes and the feta cheese.
Cut the spring onions thinly.
Mix the courgettes, feta and onions.
Sprinkle with olive oil and pepper when serving. No need to add salt as feta cheese is already salty.

Watercress salad

  • 2 or 3 handfuls of watercress
  • Other leaves to taste (spinach, roquette…)
  • Olive oil
  • Half a lemon
  • Salt and pepper
  • 3 spring onions

Wash the salad and gently dry with a clean cloth. Mix them in a large bowl.
Sprinkle with about 5 tbsp of olive oil and the squeezed half lemon.
Add salt and pepper to taste.


This plate is refreshing and very fast to assemble.

M

vendredi 27 juin 2014

Mediterranean Spring Tapas and a bonus recipe


Lately we have been in tapas mode. I think I can identify the culprit quite easily: my new Morito Cookbook. It’s from a tapas restaurant in London called… Morito. All the recipes are delicious, easy to do and the taste is delicious, just like in the restaurant.
 
With the weather being so nice in May and June (mostly, we are in London…), we have tried about 10 of their recipes already and I keep craving for them all the time.
We have selected our favourite three for you today. I have replaced some ingredients when they were not easy to find and have still ended up with delicious dishes. 


Sweet onion salad with grilled halloumi
For me onions are the most underrated of all vegetables. They are cheap, taste delicious, come in a multitude of varieties and can be cooked in many ways. Red, white, spring onions, salad onions, Egyptian onions, cipollini… some are sweet others tangy, some are small or smooth and white, others are red, large and rough… A real delight!
This recipe uses red and / or white onions and makes them soft and sweet…
The sauce can seem a little cumbersome but the quantities give you more than enough for about 4 or 5 of these onion salads. And believe me you will be making it again soon!


Ingredients

· Pomegranate dressing
o   Freshly squeezed juice of one large pomegranate
o   One tbsp. of good quality red wine vinegar with a pinch of sugar
o   2 tbsp of pomegranate molasses (I used agave syrup and it worked perfectly)
o   4 tbsp of extra virgin olive oil
·         4 to 6 medium red or white onions

Pop your onions whole into your oven (gas 6 or 7) for 35 minutes. I put them on a grill above a tray. The onions will ooze a little and it’s easier to wash then the bottom of the oven.

In the meantime prepare the sauce:
Peel the pomegranate. Put the ruby coloured (yummy, don’t eat them all!) in a strainer above a larger bowl and squeeze with the back of a spoon until all the juice is extracted.
Add the olive oil, the vinegar and the molasses to the juice.
Pour in a sealable glass container (such as an old bottle with a cap or an old jam jar), close the lid/cap and shake.
Once the onions are done, let them cool for a bit, they will be easier to manipulate. Once cooled, remove the first (and second if needed) outer layers and the hairy end. Slice into two. Put in a serving dish (with high sides) and pour some of the pomegranate sauce onto them.
Grill slices of halloumi in a hot pan (no oil needed).

Serve with the halloumi still hot and enjoy!


Hummus
Aaah a great classic, but so easy and so good when it’s home-made!
I have to say for me it works better with canned chick peas. They are tenderer and softer than when I cook them myself, despite the 24h soaking.

Ingredients

·         Juice of one lemon
·         400g tin of cooked chickpeas drained and rinsed
·         One large garlic clove crushed to a paste with one teaspoon of salt
·         5 tbsp of extra virgin olive oil
·         1 ½ tsp of tahini

Mix all the ingredients together, I used a handblender.
Spread in a bowl, sprinkle with olive oil and smoked sweet paprika and tuck in!


Rhubarb and Tarragon
I ordered rhubarb only for this recipe. I tried making rhubarb pies before but found I wasn’t very successful. The pie was still very acid despite the half a ton of sugar I had added… hmm not very healthy either…
I was hence a bit sceptic for this recipe as the rhubarb is…raw! I turned out just delicious and the simplest as well.

Ingredients

·         300g young thinnish rhubarb stalks
·         1 small bunch of tarragon leaves
·         Small squeeze of lemon
·         2 tbsp extra virgin olive oil

Slice the rhubarb into 1 to 2 cm pieces. Wash and cut the tarragon, slice and spread over the rhubarb in a serving dish.
Just before serving, squeeze half a lemon and sprinkle with the olive oil.

And a little bonus recipe: Rhubarb Chutney

We had some rhubarb left and after a week it didn’t look very good for a raw recipe. Thankfully, the blog Better than Butter proposed a rhubarb chutney recipe at about that time. I adapted the recipe with what I had at home:

Ingredients
15cl of water within which dates were soaked (I made the choconette 2 days before… 0:) )
100g of rhubarb, sliced into 1 to 2 cm pieces.
50g of prunes, pitted
1 small white onion, sliced thinly
50g of sugar
1cm of fresh ginger
¼ of a fresh chilli, sliced thinly
3 pinch of nutmeg powder
3 pinches of cloves reduced to powder
2 pinches of cinnamon
Ground black pepper

Put all the ingredients in a pan with a lid and bring to a small boil. Stir frequently. Remove the lid and let it boil very gently for about 1h to 1h30, until most of the water has evaporated and it has the consistence of chutney. Don’t forget to stir once in a while.
Put in an old jam jar. When it has cooled down, pop in the fridge for a month before using. You can use it before that of course but the flavours blend better after a month left alone. I cheated a bit to taste it out of curiosity. It’s really delicious, sweet and sour and a little hot at the back of tongue at the end. The beautiful thing about this recipe is that you can adapt it to whatever old and rotting secret ingredients your kitchen holds.